What are the best camera settings for outdoor vintage car photography?
Master outdoor vintage car photography with ideal camera settings. Capture timeless elegance in every shot. Click for pro tips & techniques!
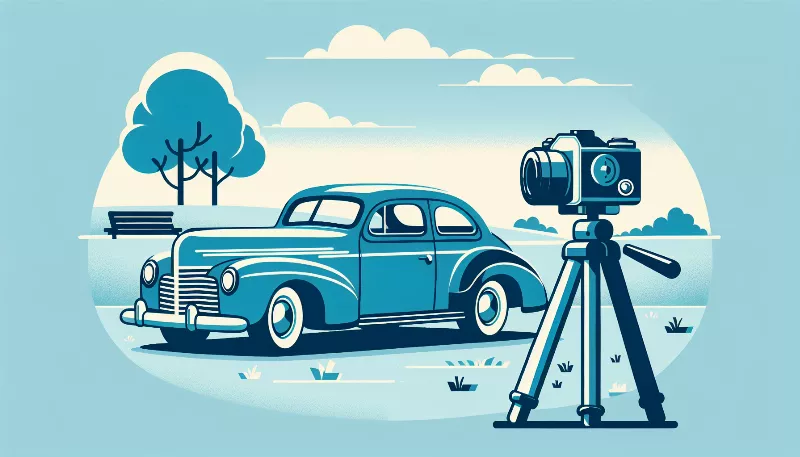
Introduction to Outdoor Vintage Car Photography
There's something undeniably timeless about vintage cars. Their classic lines, rich history, and the stories they carry make them perfect subjects for photographers looking to capture a piece of the past. But to truly do justice to these automotive beauties, you need to know the best camera settings for outdoor vintage car photography. Whether you're a seasoned pro or just starting out, mastering these settings will help you produce stunning, evocative images that resonate with the charm and elegance of yesteryear.
Understanding Light and Time of Day
The golden hour, that magical time just after sunrise or before sunset, provides soft, diffused light that can make your vintage car photos look absolutely stunning. During these times, set your camera to a lower ISO to avoid unnecessary grain. A good starting point might be ISO 100 or 200. If you're shooting in the harsh midday sun, consider using a polarizing filter to reduce glare and enhance the colors of the car and the sky.
Aperture Priority for Depth of Field Control
Aperture priority mode (often denoted as 'A' or 'Av' on your camera dial) is a fantastic choice for car photography. It allows you to control the depth of field, which is crucial when you want to isolate your subject from the background or ensure that every detail of the car is in sharp focus. For a blurred background, opt for a wider aperture (lower f-number), such as f/2.8 or f/4. If you want everything in focus, a smaller aperture (higher f-number) like f/11 or f/16 will be your go-to setting.
Shutter Speed for Capturing Motion
If you're aiming to capture a sense of motion, such as a vintage car cruising down a scenic road, you'll need to play with shutter speed. A slower shutter speed can create a beautiful motion blur effect, conveying speed and movement. Try starting with 1/60th of a second and adjust from there based on the speed of the car and the amount of light available. Remember to use a tripod or stabilize your camera to prevent unwanted camera shake.
White Balance for Accurate Colors
White balance is critical in outdoor photography to ensure that the colors in your images accurately reflect what you see with your eye. For vintage cars, you want the paint, chrome, and details to pop with their true colors. Set your white balance according to the lighting conditions, or use the 'Auto White Balance' (AWB) feature as a starting point and then tweak it in post-processing if necessary.
Focus on the Details
Vintage cars are all about the details—the curves of the bodywork, the shine of the chrome, the texture of the leather seats. Use a single-point autofocus setting to pinpoint exactly where you want the sharpest focus. This technique is particularly useful when photographing close-up details or when you want to draw attention to a specific part of the car.
RAW Power
Shooting in RAW format gives you the most flexibility when editing your photos. It captures all the data from the sensor, allowing you to make more detailed adjustments in post-processing. This can be especially helpful when working with the nuanced hues and tones of vintage cars, ensuring that you can bring out the character of the vehicle without losing any image quality.
Conclusion: Practice Makes Perfect
While these tips provide a solid foundation for outdoor vintage car photography, the best way to discover what works for you is through practice and experimentation. Each car and setting is unique, and finding the perfect balance of camera settings will help you create compelling, memorable images that celebrate the spirit of these classic machines. So grab your camera, find a vintage car, and start capturing the beauty of automotive history!

